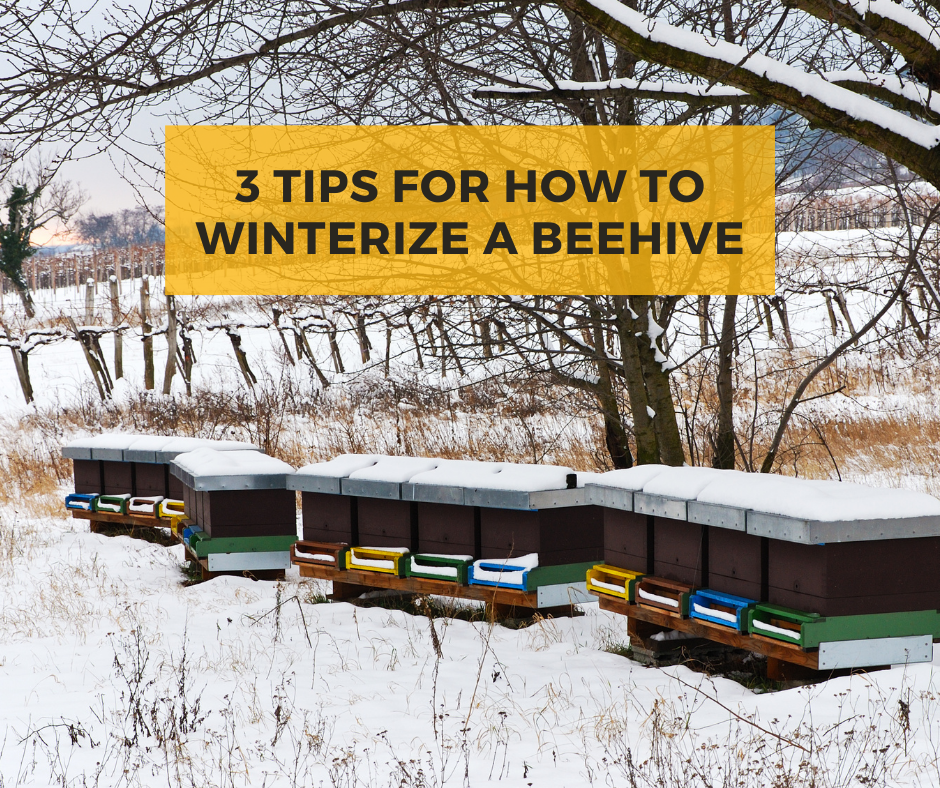
3 Tips For How To Winterize A Beehive
Though summer is the honey bee’s busiest season, they work hard all year long. When winter comes around, bees put a lot of effort into keeping the hive warm and ensuring everyone, especially the queen, is safe, cozy, and well fed. Beekeepers must also work hard to prepare their colonies for the cold.
You’ve done your job to make sure your hives thrive throughout spring and summer, and now it’s time to help them survive the winter. Keep your colonies warm and safe all season long with these tips for how to winterize hive bees.

Winterizing Bees: Insulation and Ventilation
Bees need warm temperatures to move around and reach the honey within their hive. While they will work together to keep the entire colony warm, you can help them by insulating the hive.
Whether you have a Langstroth, Warre, or top bar hive, it’s necessary to reduce hive entrances to prevent excess cold air from entering it. You can also wrap your hives, install foam insulation boards, or place wind blocks around your apiary for extra insulation during the cold months. Just be careful not to overdo it. Too much insulation can lead to damp air, which can cause mildew and other problems within the hive.
As you fortify your hives for the upcoming cold temperatures, leave an opening at both the top and bottom of the hive so that air can flow throughout. Meanwhile, placing roofing tiles on top of the hive is a great way to soak up the sun and retain heat during sunny days.
Warre Hive Insulation Tips
If you have a Warre hive, another trick is to stagger the boxes so that the combs are perpendicular between each box. This placement prevents cold air from going inside the entrance and moving through the clusters.
Another tip for Warre hives is placing an insulation box on top of the colony, a shallow box with a canvas or burlap bottom filled with dry, organic material. These boxes keep out moisture, which is highly important during the winter season.
Securing the Hives
Winter can be tough on the hives, and the following tips will ensure your bees are protected throughout the season:
- Batten down the hatches. Secure the hives by tying them down with a rope or strap. Another tip is placing heavy bricks or similar objects on top to prevent the hives from toppling.
- Install a windbreak. If the hives are situated in a windy location, creating a makeshift wall should protect them from getting knocked over
- Move them indoors. Before doing this, be sure to move them once foraging bees have returned for the season. You don’t want to get them stuck at their original location. Moving them in three-sided structures may be good to prevent having to move them back and forth.
Positioning the Honey
Bees are smarter than you think they are. They usually organize their food stores and brood nests where they need them, so it’s best not to interfere with the comb arrangement when preparing for winter.
However, honey frames should be on the sides and top of the cluster for Warre and Langstroth hives. Top bar hives usually need to be on one side of the cluster. This ensures the cluster can move together in one direction when feeding through the food.
Another tip is to remove queen excluders, which prevent the queen from moving along the honey stores with the rest of the cluster. You don’t want to leave the queen behind, endangering her life and the entire colony’s.
Remove Excess Hive Space
When there’s less space to keep warm, your bees don’t have to spend as much energy heating it. One of the best tips for how to winterize a beehive is to get rid of unnecessary space within the hive before winter comes.
Pack down for winter by removing empty boxes and frames. You can also check the hives and cover unnecessary hive entrances.
After your honey harvest, remove your extra honey supers to make the interior space smaller. Pay attention to how you arrange your beehive frames. Make sure your bees have easy access to their honey as they form a winter cluster, where bees cling tightly together to stay warm throughout the winter.
Combine Weak Colonies
Consider combining two small colonies to streamline your winterizing efforts. After all, you’ll want to overwinter one than lose both. If you’ve got a weaker colony, combine it with a stronger one. However, ensure that the weaker one does not suffer from mites or disease, as this will only compromise the stronger colony.
The most important thing to check is if the stronger colony has enough food stores to feed more bees. You don’t want to sacrifice a strong colony only to bolster the weak one.
Pest Control for Honey Bees
Unfortunately, winter doesn’t always chase away the pests that intrude upon your hives. Mice, mites, and other threats will try to creep into your hives to take advantage of the warmth and resources.
Keep them out by taking pest control measures ahead of time. Place hardware cloth, mesh, or an entrance reducer over your hive entrance to keep larger critters, like mice, out of the hive. You can help prevent varroa mites and other smaller intruders by placing sticky boards and other traps in the hive. You should also treat the colony for mites before winter arrives.
If you have a weak colony, it’s best to close up as many entrances as possible, so they have fewer areas to defend from pests.
Checking the Honey Stores for Feeding
Before winter hits, it’s essential to evaluate your bees’ honey stores to evaluate how much you can harvest, considering the winter season’s length. There are different ways experienced beekeepers evaluate their honey harvest, including “hefting” the hives. If they feel quite light, it may be time to consider feeding.
Fall Feeding
You may want to feed your bees 2:1 sugar water syrup during the fall, unlike the 1:1 ratio during spring. The thicker syrup is a great alternative for ramping up their winter stores instead of nectar. Avoid giving them raw sugar, as this might cause upset the bees’ stomachs. Instead, try beet sugar or refined white cane.
Winter Feeding
Heading into winter, bees will stop taking liquid syrup once the temperature drops. If the hives are still light during this time, it’s time to prepare for winter feeding.
It’s best to install your food before you close up your hives in the fall, so you don’t risk exposing them to the harsh cold environment. Your winter feed can be anything from traditional candy cakes, fondant, or granulated sugar piled on top of a piece of paper.
Pollen During Winter
While pollen is bees’ sole protein source, feeding this during winter is not advisable. Pollen is essential in baby bee development and can lead to bee population growth, and more bees to feed is the last thing the colony wants in the middle of winter.
Check and Change
It’s still advisable to check your bees from time to time, even during the winter, preferably on a warm, dry day. Lift the lid to check on food stores, assess the hive’s health, clean up dead bees, or check for mildew or dampness. Assessing the hive’s condition, such as low food supplies or a dead queen, will ensure you’ll be able to treat it before it’s too late to salvage the hive.
Heading the end of winter, you should see your bees leaving and re-entering their hive as they prepare for spring. If there’s a low activity level, consider feeding them pollen to strengthen the colony at the start of the new season.
Conclusion
Remember to avoid spending too much time and effort trying to salvage weak hives. You can still start over with locally adapted bees that are stronger and can better survive the winter in your locale. This way, you won’t have such a hard time winterizing your bees the next time.
You’ve done everything you could to prepare your bees. The only thing left is to cross your fingers and hope the bees survive the winter. Use these tips to help give your hives a better chance of surviving the winter months!

